

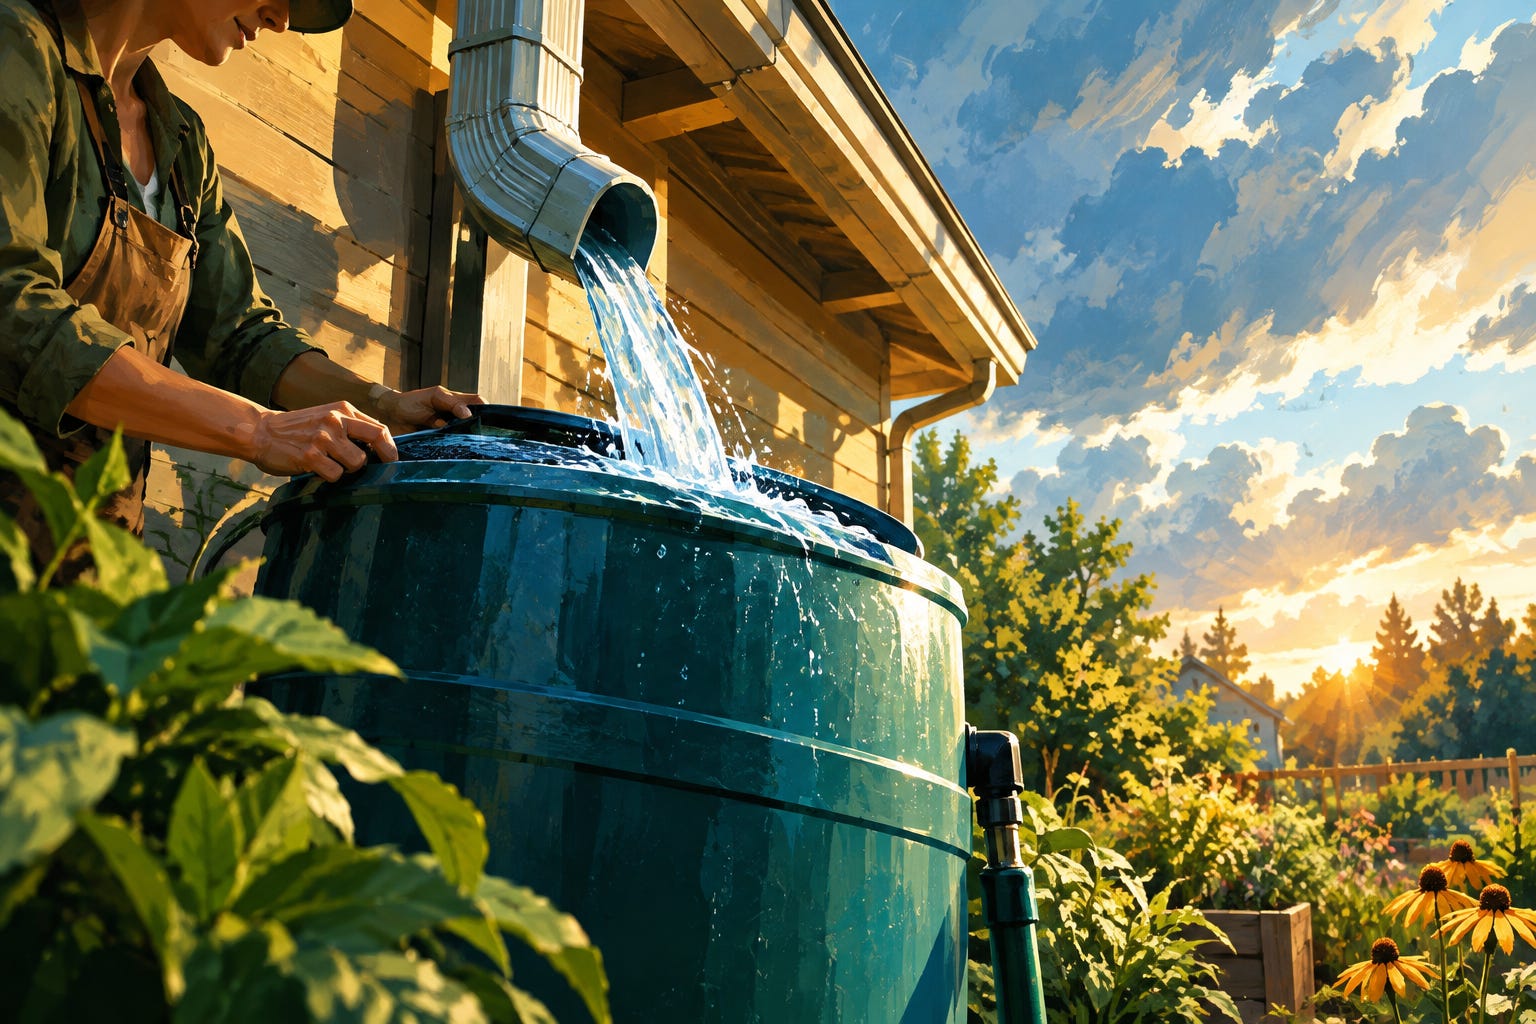
WaterEvery time it rains, your roof does a quiet little magic trick. It collects hundreds of gallons of free water and sends them straight into the storm drain. 😮
That’s a strange habit when you think about it. We pay for treated water, then spray it on tomatoes that would be perfectly happy with rain. A rain barrel fixes that, and you can install one in an afternoon with a drill and a hacksaw. This guide covers the math, the gear, the install, and the few mistakes that make beginners give up. 🌱
How much water your roof really gives you
Start with the number that surprises everyone. One inch of rain on a 1,000 square foot roof gives you about 600 gallons. That’s the standard rule of thumb at Rutgers Cooperative Extension, which also points out that hooking a barrel to just one of four downspouts still catches roughly 150 gallons per one-inch storm. 🧮
You never capture everything, of course. A common planning figure is 75 to 85 percent efficiency, because some water splashes, evaporates, or overflows. To estimate your own haul, multiply roof area by inches of rain, then by 0.6, then by that efficiency. If you need a quick refresher on how the whole idea works, the Wikipedia page on rainwater harvesting covers the basics. 📚
Why bother? A few reasons:
Summer irrigation can eat nearly 40 percent of household water use, according to Reviewed.
Rain is free of added chemicals, and plants seem to like it better than tap water.
Barrels cut stormwater runoff, which means less pressure on local drains. 🌊
Many cities pay you to do it. LawnStarter’s state guide lists rebates such as up to $200 in Orlando and a similar offer in Sacramento.
Does it really pay for itself? I think the honest answer is “usually, but not fast.” A Springfield, Massachusetts water commission pegs savings near $38 a year, and a local report says a barrel can pay off in two to three years for regular waterers. A DC survey, though, found about $35 a month in summer. Your payback depends on your water rates, your garden, and your rainfall. 💰
How much do you spend on outdoor watering in July? Pull up last summer’s bill before you buy anything. It’s the best way to guess your own payback.
What to buy (and what to skip)
You don’t need much. A basic setup is cheap, and most of the parts come in one kit. 🛒
According to HouseLogic, commercial barrels run $50 to $200, and you can also make one from a food-grade container. The Lake Champlain Basin Program says store-bought ones start around $60.
Here is your shopping list:
A barrel, typically 50 to 55 gallons, with a spigot near the bottom.
A downspout diverter and hose. This sends water in, then lets the extra flow down the downspout once the barrel is full. 🔧
Fine mesh screen for every opening, which keeps bugs out.
A stand, such as cinder blocks or a platform, because height gives you better water pressure.
An overflow hose that points away from your foundation.
Skip the fancy decorative lids. Some have rims that hold water above the screen, and that is a mosquito nursery waiting to happen. A plain, smooth top beats a pretty one. ⚠️
And think about weight. Water weighs 8.3 pounds per gallon, so a full 55-gallon barrel tips the scale at roughly 450 pounds. Build the base on level, solid ground.
Your weekend install, step by step
Plan on a few hours, not a whole weekend. The rest is coffee. ☕
The Home Depot guide and Penn State Extension’s construction guide both walk through the same basic flow:
Pick a spot next to a downspout, ideally near the garden, on level ground.
Set the base. Cinder blocks work fine, and the barrel goes on top.
Install the spigot near the bottom, if your barrel didn’t come with one.
Cut the downspout with a hacksaw at the height your diverter needs. Read the whole kit manual before you cut anything. 😅
Attach the diverter, connect the fill hose to the barrel, and run the overflow hose away from the house.
Test it. Run a garden hose through the gutter, check for leaks, and tighten fittings.
One more tip: skip the first rain after a long dry spell. That “first flush” washes off bird droppings and roof grit. You can let it pass through the barrel, or add a small first flush device if you want to get fancy. 🍃
Rain barrel water is not for drinking, and it shouldn’t go on edible leaves. Water the root zone of your vegetables instead of the plants themselves.
Keeping it running: mosquitoes, winter, and rules
This is where beginners stumble. Mosquitoes need only about six to nine days in standing water to become adults, according to this rain barrel guide. A barrel without screens is basically an invitation. 🦟
To keep it clean and working:
Use a double layer of fine mesh on the intake and overflow, as the San Gabriel Valley mosquito district advises.
Leave an air gap so water passes through the screen instead of pooling above it.
Empty the barrel between storms so there is room for the next one.
Drain it before the first hard freeze. Frozen water cracks plastic, and you only make that mistake once. 🥶
Clean the screen and gutters every few weeks during rainy seasons.
Then check your local rules. Rainwater collection is legal in all 50 U.S. states, but Bob Vila’s state breakdown shows that some places, like Nevada, limit how you can use it. Your HOA may also have opinions about barrels. A quick phone call to your city and a glance at your HOA rules take five minutes. 📞
So here’s the question I’ll leave with you: how many downspouts does your house have, and which one drains closest to your garden? Walk outside next time it rains, find it, and you’ve picked your spot. 🌍