

How to Start Composting in 7 Days Even If You Have a Tiny Apartment
No yard, no garden, no excuses — apartment composting is genuinely easier than you think, and your houseplants will never forgive you for waiting this long.
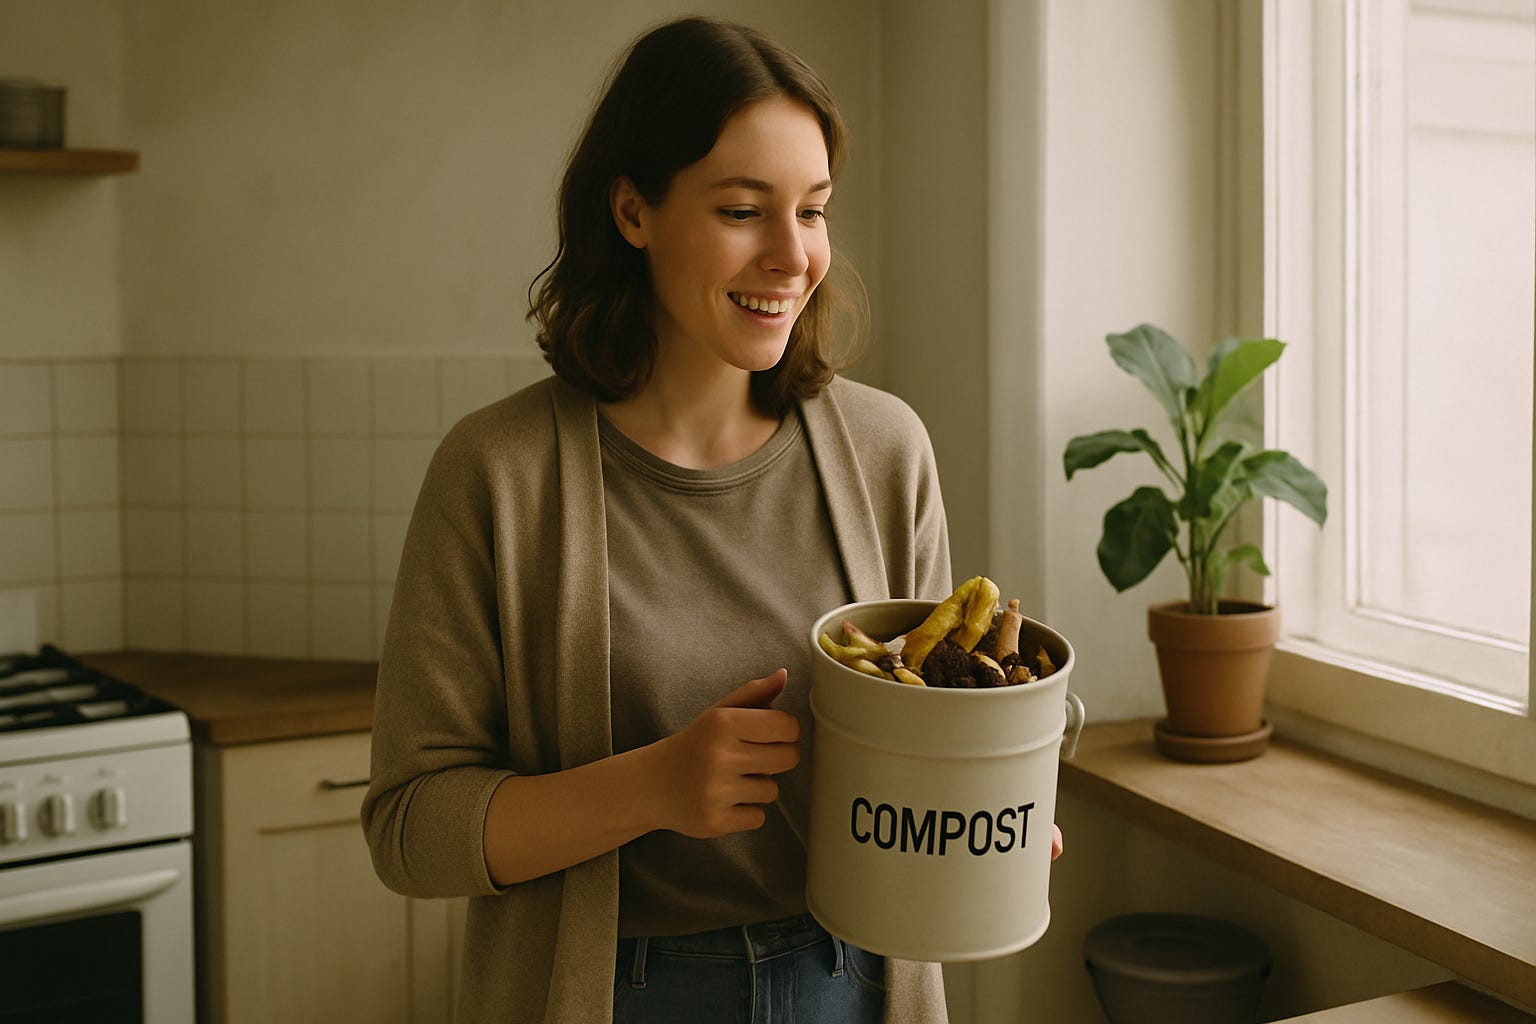
Here is the thing about apartment composting that nobody says loudly enough: the biggest barrier isn’t space. It’s the mental image most people carry around, that composting means a steaming pile of yard clippings, an outdoor bin the size of a refrigerator, and neighbors who actively dislike you. That image has nothing to do with what apartment composting actually looks like.
What it actually looks like is a small bucket under your kitchen sink, or a compact bin that fits behind your trash can, quietly converting banana peels and coffee grounds into some of the richest plant food on the planet. Some methods don’t even smell. One of them uses worms and is, genuinely, more interesting than it sounds.
The stakes are worth understanding first. The EPA reports that food waste makes up 24.1% of all material sent to US landfills, and according to research from ReFED and reporting by Waste Dive, it’s responsible for 58% of all landfill methane emissions, despite being less than a quarter of the content. Methane is roughly 28 times more potent than CO2 at trapping heat, per EPA data. That banana peel you toss without thinking isn’t just wasted food. It’s a slow-release greenhouse gas. 🌍
You don’t need a yard. You need a plan and about 20 minutes.
Why apartment composting is not what you’re picturing
The outdoor compost pile of your imagination, with its pitchfork and turning schedule and vague smell of farmyard, is a hot composting system. It works great if you have space and yard waste and don’t mind the maintenance. If you have none of those things, it’s irrelevant.
Apartment composting uses completely different methods built specifically for small, indoor spaces. The three main options available to you are vermicomposting (using worms), bokashi fermentation (using beneficial microbes and a sealed bucket), and electric composters (countertop devices that grind and dry scraps in hours). Each has a different feel, different cost, and different ideal user. 🪱
A few things that are categorically untrue about indoor composting:
It does not have to smell. A well-maintained worm bin smells like damp soil, not rot. A sealed bokashi bucket produces almost no odor when closed properly. Both beat your regular trash can.
You don’t need outdoor access. Your finished compost can go to potted plants, a community garden, or a municipal compost program if your city has one.
It is not complicated. The learning curve is genuinely about two weeks of adjustment, after which it becomes as automatic as recycling.
You don’t need to compost everything. Even diverting coffee grounds, fruit and vegetable scraps, and paper waste makes a meaningful dent.
The Sustainable Packaging Coalition’s December 2025 research found that composting access across US cities has grown significantly, with more municipal programs accepting food scraps than ever before. If your city has curbside organics pickup, you may not even need a home system at all. But if you want to close the loop yourself, the methods below work even in a studio apartment. 🌱
The three methods — which one actually fits your life
Vermicomposting is the classic apartment solution, and it earns that reputation. A plastic tote with holes drilled in the sides, filled with shredded damp newspaper and roughly 1 pound of red wiggler worms (Eisenia fetida), processes your kitchen scraps continuously and produces worm castings that are, pound for pound, some of the most nutrient-dense plant amendments available. Oregon State University Extension notes that these worms are efficient enough that one pound can consume large volumes of food waste weekly. The ideal temperature is 55-77°F, which happens to be the same range comfortable for humans, making a kitchen cabinet or under-sink spot perfect.
Red wigglers accept: 🥦
Fruit and vegetable scraps (chop them small — half an inch or less — for faster breakdown)
Coffee grounds and filters, tea bags with staples removed
Crushed eggshells, plain bread, cereal, and pasta in small amounts
Shredded cardboard and newspaper as bedding
They do not accept meat, dairy, oily foods, or citrus in quantity. If that limitation bothers you, bokashi is your answer.
Bokashi composting is an anaerobic fermentation process borrowed from Japanese agricultural practice. The word bokashi translates roughly to “fermented organic matter.” You layer food scraps in a sealed bucket with bokashi bran (inoculated with effective microorganisms), press out the air, seal the lid, and let it ferment. The whole bucket sits under your sink. The process takes 2-4 weeks, and the result is a fermented pre-compost that gets buried in soil or added to another system to finish breaking down. According to FarmstandApp’s 2025 guide to small-space composting, bokashi handles meat, dairy, citrus, and cooked food that worm bins can’t. The compact 2-3 gallon buckets take almost no counter or cabinet space, and the liquid that drains off every few days works as a concentrated plant fertilizer diluted 10:1 with water.
Electric composters like the Lomi or similar countertop devices grind and dry food scraps in 3-5 hours. They’re fast, require zero maintenance, and fit on a counter like a bread machine. They also cost $300-500, use electricity, and produce a dried material that some users call compost but that technically functions more as a soil amendment. I think they’re worth considering if you want maximum convenience and don’t mind the cost. For most people on a budget, worms or bokashi make more sense.
Which fits your life?
If you hate checking on things regularly and eat meat daily: bokashi
If you want the richest plant food and are willing to learn a bit: worm bin
If budget isn’t a concern and you want zero effort: electric composter
Days 1 through 7: what you actually do
The hardest part of composting is not the composting. It’s starting. Here is a real, concrete week-by-week path for a first-time apartment composter using a worm bin, which I think is the best all-around option for most people. 🗓️
Day 1: Order 1 pound of red wiggler worms online (Urban Worm Company, Uncle Jim’s Worm Farm, or similar) or pick them up at a fishing supply store. Grab a 10-14 gallon opaque plastic storage tote.
Day 2: Set up the bin. Drill about 10 small holes in the bottom for drainage and 10 holes near the top rim for ventilation. Shred newspaper into strips, soak them in water, squeeze out most of the moisture, and fill the bin about two-thirds full. The bedding should feel like a wrung-out sponge, damp but not dripping. Place a tray under the bin to catch any liquid.
Day 3: Add the worms to the center of the bedding. Leave a light on over the open bin for a couple of hours — the light-sensitive worms will burrow down and stop any escape attempts. Close the lid and leave them alone for 48 hours.
Day 4-5: Add a small amount of scraps, maybe one cup. Bury them under the bedding. This is important: scraps always go under the surface layer, which suppresses fruit flies and odor.
Day 6-7: Watch for activity. The worms will start processing the food once it begins to soften. Your job this week is simply to not overfeed. According to Uncle Jim’s Worm Farm, beginners should start with a half-pound of organic waste per pound of worms, not the worms’ full theoretical capacity. 🌿
Going forward, feed every 2-3 days in small amounts. In roughly 3-4 months, the bin will be full of dark, crumbly worm castings ready to harvest.
The rookie mistakes that actually cause problems
Composting has a reputation for being finicky, but most problems come from a handful of specific errors. Having a sense of these before you start is worth a lot. ♻️
Overfeeding is the number-one beginner mistake. Worms can theoretically eat their weight in scraps daily, but in practice, temperature, moisture, and the freshness of the bin all affect that rate. Too much food sitting around uneaten goes anaerobic, produces bad smells, and attracts fruit flies. The fix is simple: slow down.
Running the bin too wet is the second-most common problem. Penn State Extension notes this clearly: fruit and vegetable scraps contain a lot of water, and most worm bins end up wetter than they should be. A bin at the right moisture level should barely yield one drop of liquid when a handful is squeezed hard. Add dry shredded paper after every feeding to absorb the excess.
Adding the wrong things. For worm bins specifically:
No meat, fish, dairy, or oily foods (they rot badly and attract pests)
Limit citrus peels — worms avoid them and acidic pileups cause problems
No pet waste, diseased plants, or anything coated in pesticides
Go easy on strongly scented brassicas like broccoli and cabbage — Penn State Extension specifically flags this as a common odor source
Choosing the wrong location. A worm bin in direct sunlight on a south-facing balcony in August is a worm-killing bad decision. Keep the bin in a dark spot between 55°F and 77°F. An under-sink cabinet or a shaded corner of the kitchen works well.
Is there a type of kitchen scrap you’re especially curious about whether it belongs in a bin? It’s a surprisingly divisive topic in composting communities.
What to do with finished compost when you have no garden
This is the practical question that stops a lot of apartment composters before they start. You’ve made beautiful dark worm castings. Now what? 🪴
Your houseplants will love you. Worm castings mixed into potting soil at roughly 20-25% improve drainage, water retention, and microbial diversity. Even a small worm bin produces enough castings over several months to refresh your houseplant collection. The bokashi liquid fertilizer, diluted 10:1, works as a weekly plant feed.
If you have a balcony container garden, the math gets even better. According to GreenInch’s guide to eco-friendly home upgrades that pay for themselves, building toward a closed-loop home system is one of the genuinely satisfying parts of sustainable living, and compost is a big piece of that loop.
If your houseplant situation is limited, other options include:
Community gardens — most will accept donated compost with gratitude
Municipal compost drop-off sites — many cities have them, and some are accepting finished home compost as well as raw scraps
Neighbors with gardens — an underrated option; people who garden never have enough good compost
Parks with flower beds — some cities allow residents to donate finished compost to public green spaces
Food waste reduction connects to the broader question of how our daily habits intersect with climate impact. If composting is your first deliberate step into that territory, GreenInch’s guide to daily habits that save water without thinking about it is a natural companion read, since both water and food waste tend to stem from the same kind of mindless routine. 🌱
The EPA’s composting resources page also has a solid overview of what composting does for soil health, stormwater management, and nutrient cycling if you want the science behind why this matters beyond the methane numbers.
One pound of red wiggler worms. A plastic tote. A week. That’s genuinely all it takes to start.
So: what’s sitting in your kitchen right now that you’re about to throw away, that could instead become the beginning of something useful?