

How to Set Up a Rainwater Harvesting System for Your Garden This Weekend
A 1,000-square-foot roof produces over 600 gallons from a single inch of rain — here's how to stop letting all of it disappear down the drain.
There’s something almost offensive about watching a rainstorm hit your roof, race through the gutters, and vanish into the ground while your garden sits parched a few feet away. Free water, literally falling from the sky, and we’re piping it into the storm drain and then paying the utility company for more. The whole arrangement makes no sense once you notice it.
Rainwater harvesting is the fix, and it’s neither as complicated nor as expensive as the internet makes it look. The entry point is genuinely a weekend project. A basic setup — barrel, diverter, some hose fittings — can be done in a Saturday afternoon for under $100. A more capable system, with a larger tank and gravity-fed irrigation, might take a full weekend and a few hundred dollars more. Either way, the payoff starts with the next rainfall.
A 1,000-square-foot roof captures around 620 gallons from just one inch of rain, using the standard formula of roof area multiplied by rainfall depth multiplied by 0.623. In most parts of the country, that adds up fast. And according to multiple studies, including data compiled by Thrive Lot’s rainwater ROI analysis, a well-sized system can cut municipal water use by up to 40 percent. That’s not a rounding error. That’s a meaningful dent in your water bill and a genuine contribution to reducing the pressure on local water supplies.
Before you buy anything: legality and math
The first step isn’t touching a downspout. It’s a five-minute legal check. 📋
Rainwater harvesting is legal in all 50 US states as of 2026, but the rules vary. The majority of states place zero restrictions on residential collection. States like Texas, Arizona, and Virginia actively encourage it with tax incentives or rebates for installed systems. The outliers worth knowing are Colorado (capped at 110 gallons total, outdoor use only) and Utah (up to 2,500 gallons, with registration required for larger systems). If you’re in one of those states, check your local rules before buying anything. For everyone else, you’re good to proceed — though it’s worth a quick look at your HOA rules if you have one, since some communities regulate the appearance of outdoor tanks.
Once you’ve cleared the legal bit, do a rough sizing calculation:
Measure your roof’s footprint (length × width is close enough)
Find your average monthly rainfall at US Climate Data
Multiply roof area × rainfall inches × 0.623 to get gallons per rain event
A 1,500-square-foot roof in an area that gets 3 inches of rain per month can theoretically collect around 2,800 gallons monthly. You won’t capture all of it, but even capturing a fraction handles most garden irrigation needs through the dry season. Think about what your garden actually needs, then size your storage to cover two to four weeks of that demand as a starting target. 💧
Choosing your tank
This is where most people get overwhelmed. Don’t be. There are basically three options, and the right one depends on your space and budget. 🪣
Rain barrels (50-100 gallons) are the beginner entry point. They cost $70-$150 new, less if you find a used food-grade barrel. They’re easy to install, require almost no modification, and connect directly to a downspout with a diverter kit. Their limitation is obvious: 100 gallons runs out fast in a dry spell. They’re best suited for smaller gardens or as a starting point before you scale up.
IBC totes (intermediate bulk containers, usually 275-330 gallons) are the middle ground that serious gardeners almost always end up at eventually. They’re cube-shaped, sit on an integrated pallet, and can be linked together to multiply capacity. You can often find them used for $50-$150 from food distributors, agricultural suppliers, or online marketplaces. The catch: they’re not beautiful. But a simple trellis or timber frame around them solves that.
Linked barrel systems are a practical way to expand capacity without committing to one massive tank. According to Bootstrap Farmer’s rainwater guide, the key is plumbing multiple tanks together at the bottom rather than overflow-linking them at the top. Bottom-linking means hydrostatic pressure fills all tanks simultaneously, rather than filling one until it overflows into the next, which wastes air space.
Whatever you choose, make sure it’s opaque. Any container that lets light through will grow algae. That’s not a catastrophe for garden water, but it’s unpleasant and clogs filters faster than you’d like. 🌿
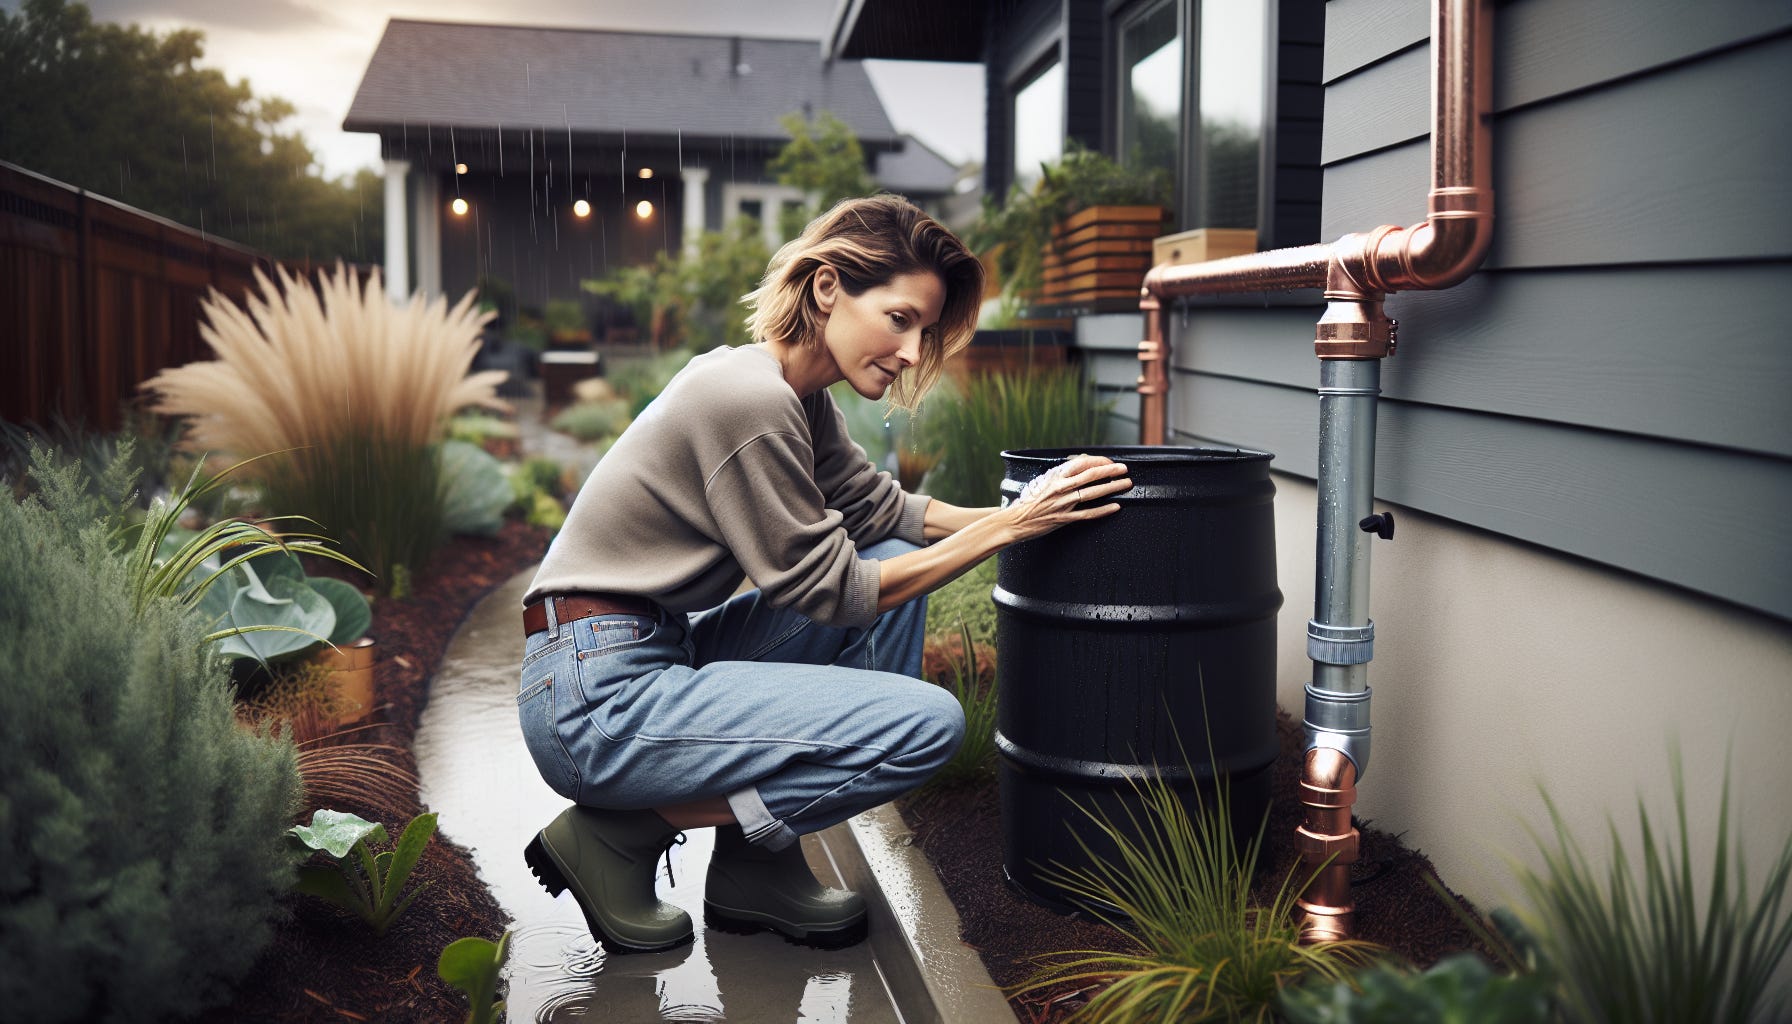
The weekend build
Assume you’re going with a 275-gallon IBC tote and a basic first-flush diverter. Here’s the actual process. ⚙️
The first-flush diverter is the most important component most beginners skip. Your roof accumulates dust, bird droppings, pollen, and whatever else lands on it between rains. The first few gallons of any rain event wash that debris off. A first-flush diverter captures and discards that initial flush, directing the cleaner water that follows into your tank. Without it, you’re filling your barrel with the concentrated roof grime of the past two weeks. They cost $30-$60 and are worth every cent.
The build sequence, in order:
Position your tank on a level, stable base. Concrete blocks or compacted gravel work. Raising the tank 12-18 inches above ground gives you gravity pressure for a hose or drip system connected to the bottom spigot
Install a downspout diverter at head height, connecting the downspout to a hose that runs to your tank’s inlet. The diverter also routes overflow back into the normal downspout once the tank fills
Attach a first-flush diverter inline before the tank inlet. Follow the manufacturer’s instructions for your roof area
Screen the inlet with fine mesh (like window screen material) to keep debris, leaves, and mosquito larvae out of the tank
Add a spigot at the base if the tote doesn’t already have one, using a bulkhead fitting and appropriate sealant
Run an overflow line from near the top of the tank, angling it away from your foundation and ideally toward a garden bed or rain garden
Test the whole system with a garden hose before the next rain. Better to find a leak in dry weather than discover one during the first storm. 🔧
Getting the water to your plants
Gravity is your first option and the simplest one. A tote raised on blocks delivers enough pressure to run a slow drip irrigation line or fill a watering can from the spigot. For a small garden or a few raised beds, that’s completely adequate. 🌱
If your garden is uphill from your tank, or you want meaningful pressure, a small 1/4 HP pump handles the job for under $60 and plugs into an outdoor outlet. Pair it with drip irrigation tubing routed through your beds and you have a basically automated system that uses harvested rainwater with minimal waste. This is worth doing properly, because drip irrigation wastes dramatically less water than overhead sprinklers — applying water directly to root zones rather than losing it to evaporation.
A few things to know about rainwater quality for garden use:
Rainwater is naturally soft and contains no chlorine, fluoride, or dissolved minerals. Plants genuinely respond better to it than most tap water, particularly acid-loving species
Algae in the tank isn’t a problem for garden irrigation. It just fertilizes the soil
Mosquito breeding is only a risk if the tank isn’t screened. With a sealed lid and fine mesh on all openings, it’s a non-issue
Research from Springer Nature on European rainwater systems found that well-designed residential setups can replace 20-100 percent of non-potable water use, depending on climate and system size. The variation is enormous because local rainfall matters so much. But even at the low end, displacing a fifth of your outdoor water use with free rainwater is a compelling result for a weekend’s work. ♻️
What’s your garden’s biggest water demand? Knowing that changes what size system makes sense — drop a comment if you want help thinking through the calculation.
Keeping it running
A rainwater system maintained properly is almost invisible. One that isn’t maintained becomes a mosquito-breeding, algae-clogged annoyance that you stop using. The difference is a few hours of attention per year. 🔍
Based on guidance from the Texas Water Development Board, the basic maintenance schedule looks like this:
Every 2-3 months: check and clean inlet screen filters
Every 6 months: clean gutters and downspouts, flush the first-flush diverter, inspect tank interior for sediment buildup
Annually: check all fittings and connections for leaks, inspect the overflow routing, make sure the base is still level
Before the first frost, drain everything if you’re in a freezing climate. Water expands when it freezes, and even thick plastic totes crack under that pressure. Store portable components in a shed or garage and disconnect downspout diverters until spring.
The stormwater benefit is genuinely underappreciated: properly installed rainwater systems can reduce stormwater runoff from your property by up to 70 percent, according to data from Thrive Lot’s analysis. That means less erosion, less flooding in your neighborhood, and fewer pollutants reaching local waterways during heavy rain. It’s a small intervention with ripple effects that extend well past your garden fence. 🌍
If you’re interested in pairing this project with other water-saving measures around the house, GreenInch’s guide to daily water-saving habits covers the inside-the-home side of the equation, and eco-friendly home upgrades that pay for themselves makes the broader financial case for sustainable home improvements that earn back their cost over time.
The market for rainwater harvesting systems was valued at over $110 million in 2025 and is growing at nearly 11 percent annually, according to analysis from The Grounded Homestead, driven largely by homeowners who are tired of paying rising utility rates for water that literally falls for free. That growth is happening because the systems work, the math is sound, and the setup is far more accessible than it was even five years ago.
The real question isn’t whether to do it. It’s: how much water has already fallen on your roof this year that you could have been using instead?