

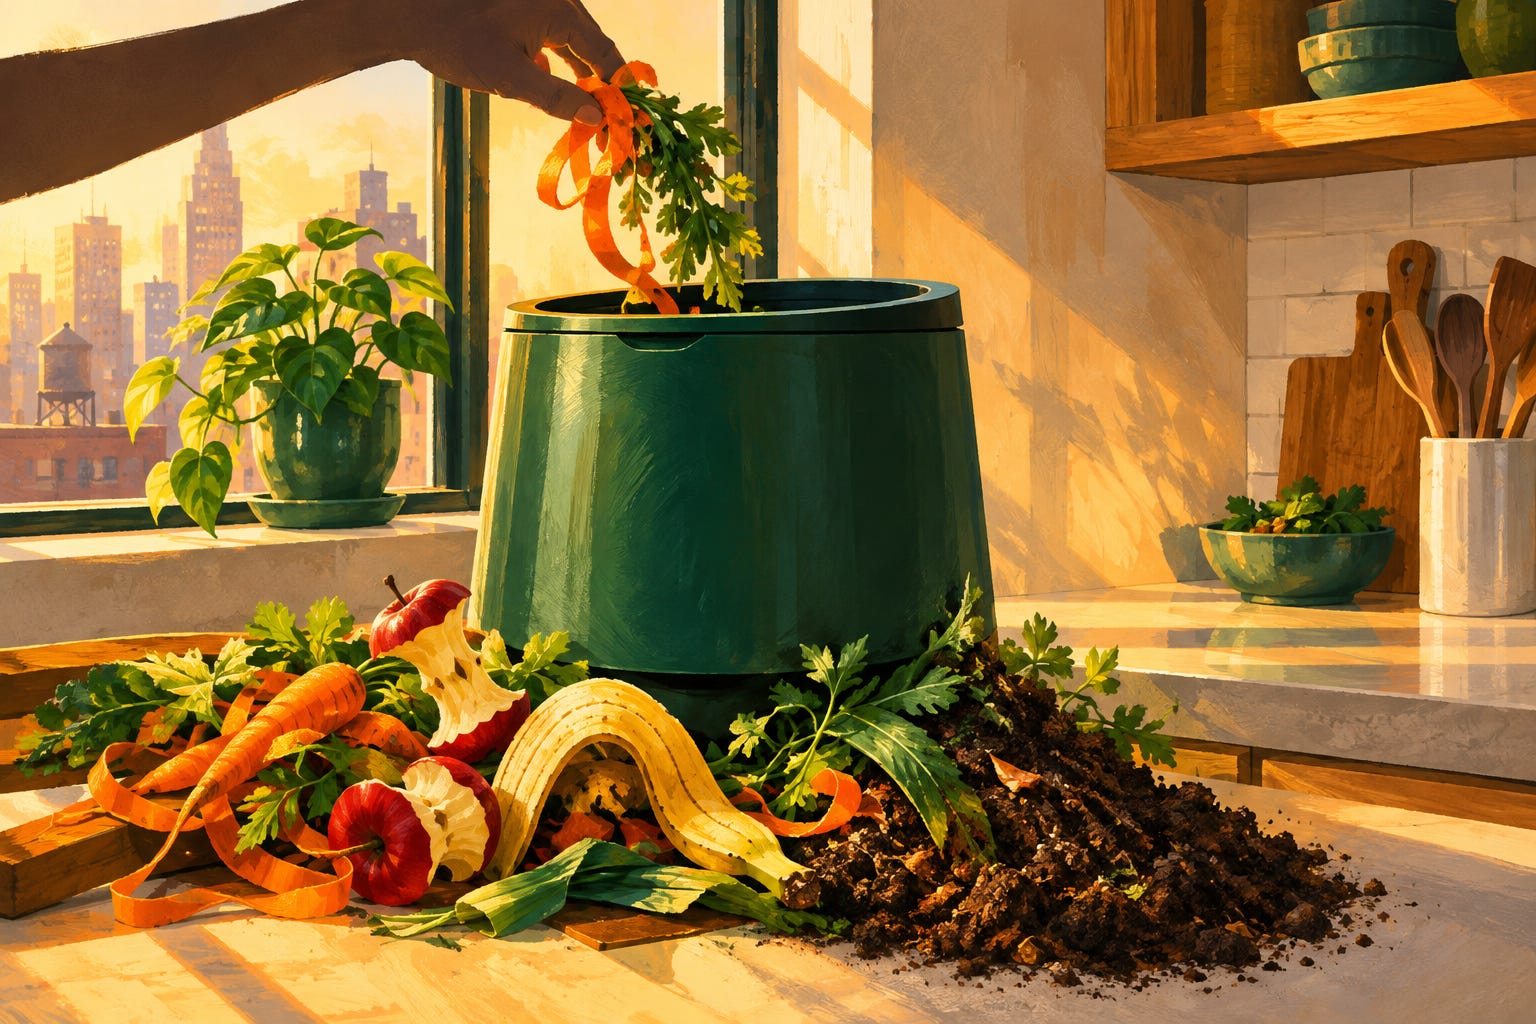
I used to think composting was for people with a shed, a wheelbarrow, and strong opinions about mulch. Then I looked at what actually lands in a landfill. According to a report on EPA data, food is the most common material sent to landfills, and it releases methane as it rots there, one of the nastiest greenhouse gases around. 🌍
So the real question isn’t whether you can compost in a small apartment. You can. The question is which method fits your kitchen, your patience, and your tolerance for the word “worm.” 😄 This guide walks you through the options, the smells (or lack of them), and the mistakes I’d skip if I were starting today.
Why your banana peel matters more than you think
Here’s the short version. When food rots in a landfill, it is buried without much air, and that is exactly when it makes methane. Composting gives it air, or a controlled alternative, so it breaks down into something useful instead. 🔬
ReFED’s director, Dana Gunders, says in that same report that people can cut at least one-third of their food waste by composting scraps instead of binning them. Compost still releases some carbon dioxide, but it is far less harmful than landfill methane. If you want the science in plain language, the Wikipedia article on compost is a decent starting point. 📚
A few things worth knowing before you buy anything:
Scraps are only half the story. Compost needs a mix of wet “greens” (food) and dry “browns” (paper, cardboard).
Smell is a symptom, not a fate. Foul odors usually mean too much moisture or too much food at once. ⚠️
Your lease probably doesn’t care. A sealed bin is no different from any other kitchen gadget, though it never hurts to read the fine print.
You can start tiny. One container on the counter counts as a start. ✅
Have you ever looked into your trash bag and been surprised by how much of it is food? Keep that picture in mind. It’s the best motivation I know.
Pick your method: worms, bokashi, or a machine
Most apartment composters end up with one of three setups. Each one has fans, and each one has a catch. 🧰
Worm bins (vermicomposting) use red wigglers, which are a specific kind of worm and not the ones from your garden. They produce superb castings, which houseplants love. The catch is that they are picky eaters, so meat and dairy are off the menu. A beginner kit runs roughly $40 to $80, according to this small-space composting guide. 🪱
Bokashi is a fermentation method from Japan. Scraps go into a sealed bucket with inoculated bran and get “pickled” instead of rotted. It handles meat, fish, dairy, and cooked food, which is its big win. The Wikipedia page on bokashi explains the process well. Bokashi kits cost roughly $50 to $120. The catch: the output is pre-compost, so you still need soil somewhere to bury it. 🪣
Electric composters sit on the counter, heat and stir your scraps, and filter the air. They are the lowest-effort option and also the priciest, around $300 to $500. They need power, and some models only suit certain scraps, so check the manual before you toss in a chicken bone. ⚡
Here is how I’d decide:
Choose worms if you own houseplants and like a slow, hands-on project.
Choose bokashi if you cook a lot of meat and dairy and have a friend with a garden.
Choose an electric unit if your budget is flexible and your patience is not.
Choose a freezer bag and a community drop-off if you want to start for free. 🧊
I think worms are the best first step for most people, but I admit I’m biased toward things that make my plants happier.
Setting up your first week
Don’t buy the fancy gear on day one. Start with a countertop collection bin. The home-composting folks quoted by Apartment Therapy recommend one with a charcoal filter in the lid, which helps with fruit flies and odor, especially in warm weather. 🪰
Then follow a simple routine:
Collect fruit and vegetable trimmings, coffee grounds, eggshells, and tea bags.
Chop big pieces smaller, because small bits break down faster.
Balance wet scraps with shredded paper or cardboard. 📦
Freeze scraps for a day first if you use a worm bin, since that helps keep fruit flies away.
Check moisture weekly. Your compost should feel about as damp as a wrung-out sponge.
If you don’t have a bin yet, a lidded container in the freezer works fine as a holding pen until you do. It sounds odd. It works. 😅
What’s the one scrap you throw away most often? For me it’s coffee grounds, and that was a happy discovery, because worms and compost both love them.
Fixing smells, flies, and other small disasters
Every beginner hits a snag. Mine was fruit flies, and I was ready to quit composting for good. 🙄
The fix is rarely dramatic. Fruit flies show up when scraps sit exposed, so bury food under bedding and keep the lid snug. For a trap, one city composting group suggests mixing half a cup of fruit juice, two drops of vinegar, and two drops of dish soap in a small container and setting it near the bin, as described in this article from the Georgia Straight. The flies go in and don’t come out. 🍎
Common problems and their usual causes:
Sour or rotten smell: too wet, too much food, or too little air. Add dry bedding.
Gnats everywhere: too much moisture. Stop feeding for a few days. 💧
Worms trying to escape: the bin is too wet or too acidic. Add bedding and skip citrus for a while.
Bokashi smells like vinegar: that is normal. It is pickled, not rotten, and rotten is the thing to worry about.
The upshot is that a healthy compost system smells earthy, like a forest floor. If it smells worse, something is out of balance, and that is almost always fixable. 🌲
So here is my question for you: which method sounds most like something you would actually keep doing in three months? Pick that one, buy only what you need, and start this week. Your trash can will be lighter by next Sunday. 🗑️