5 Affordable Solar Tech Upgrades You Can Install This Weekend
Small tweaks. Big sunlight wins.
You already have solar panels. Great move. But what if I told you that with just a few tweaks—over a weekend—you could squeeze way more juice out of your system? I'm an editor who's poked at panels, calculators, and power optimizers—been there, done that—and yes, there are upgrades that deliver real value without breaking the bank or requiring heavy construction.
Let's explore five upgrades that improve efficiency, savings, and performance. You might even feel a bit like a solar hacker. 🔧
Why Upgrade? Because Idle Solar Is Wasted Solar
Imagine your panels generating well below potential—due to shade, poor wiring, or outdated equipment. You pay for hardware, licenses, roof space; you want output. The U.S. National Renewable Energy Laboratory (NREL) estimates that partial shading can cost you 10–20% of production annually in many residential installs. MLPEs (module-level power electronics)—optimizers, microinverters—can restore a lot of that.
Plus: solar panels and inverters degrade. Add on things like pests, dirt, and mounting component failure. Sometimes the difference is invisible—but the meter doesn't lie.
1. Add Power Optimizers to Shaded Panels
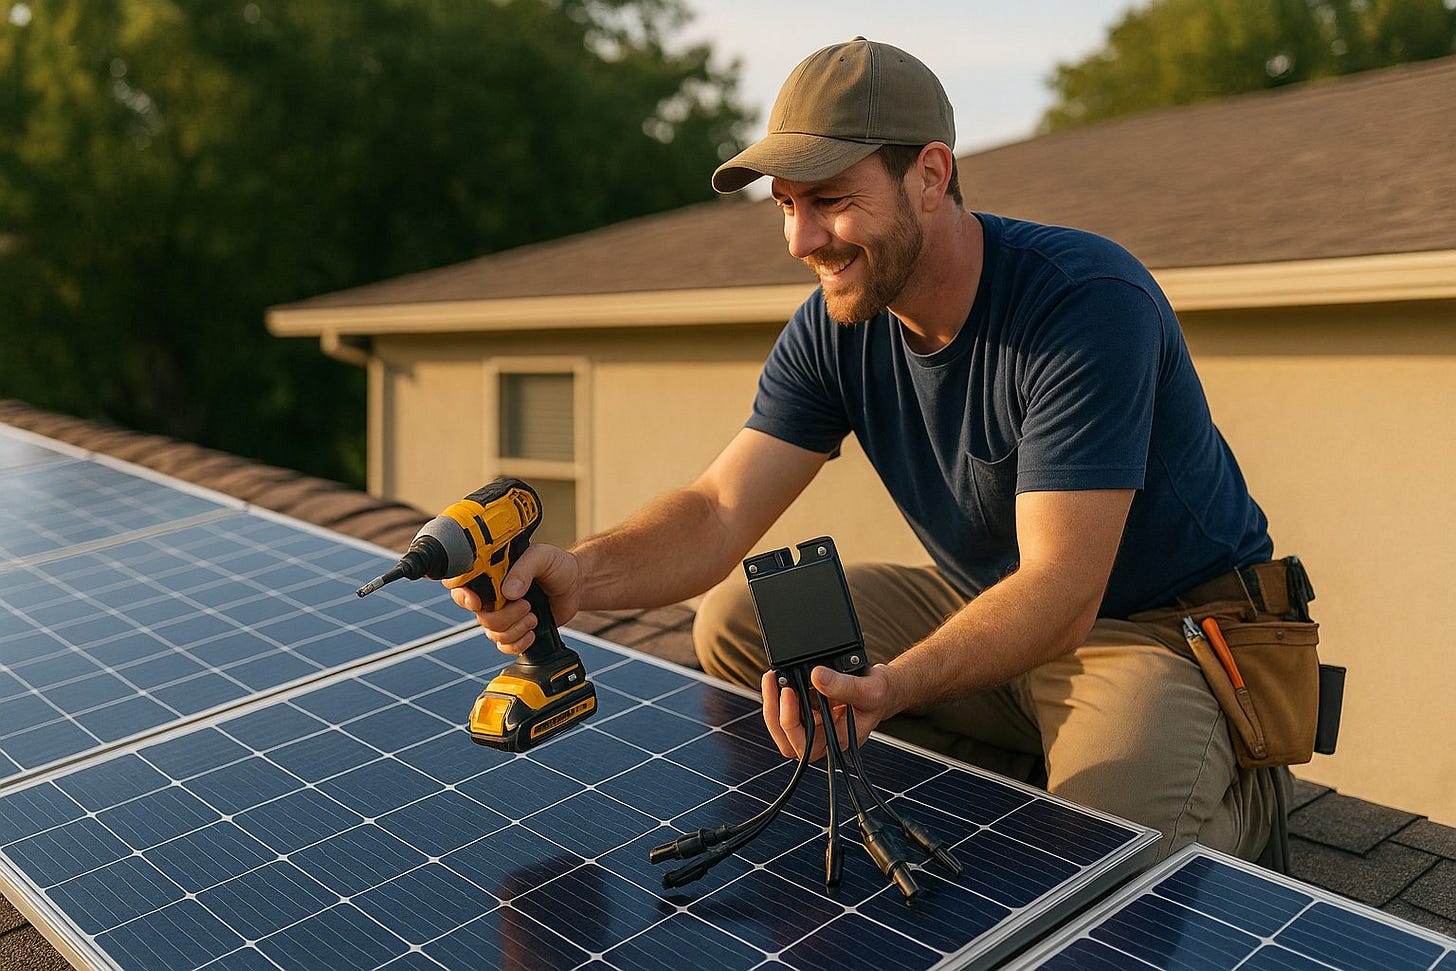
If even a few panels are in partial shade (morning sun blocked, trees, chimneys), you lose performance across the whole string. Power optimizers sit behind individual panels and manage current/voltage so one "bad" panel doesn't drag the rest down.
What you'll need: optimizer units (e.g. SolarEdge, Tigo), matching connectors, and likely a permit/licensing depending on local code.
Weekend feasibility: Yes—if you have roof access, basic electrical skills, and compatible inverter. Install 1-2 optimizers this weekend. Start with the panels you know are shaded. You don't have to redo the whole system. The return from just a few optimizers tends to offset their cost quickly.
2. Swap in a Smart Monitoring Device
You can't improve what you don't measure. Upgrading from a basic system meter to a panel-level or string-level smart monitoring setup shows you production, faults, inefficiencies in real time. Detect string drop-outs, shading issues, dirt build-up.
What to get: Brands like Enphase, SolarEdge, or independent monitoring add-ons. Sometimes you can use a plug-and-play module that connects via WiFi or ZigBee.
Weekend feasibility: Very doable. Mounting is easy, wires often already in place. Just ensure you follow safety: turn off power, secure connections. When done, you'll finally see whether those morning Shade zones are stealing hours of energy.
3. Clean, Seal, and Trim: Basic Maintenance that Moves the Needle
Solar panels love sunlight, not grime. Dirt, leaves, bird droppings, and loose mounts all reduce output. Trim overhanging tree branches, seal any cable entry points (to prevent moisture/pest ingress), tighten loose frame bolts, clean panels gently with a soft brush/squeegee.
What you'll need: water hose (or pressure washer with very low pressure), soft brush, sealant, basic tools.
Weekend feasibility: Yes. Fun, even. It's cheap and often overlooked. Many panels recoup several percentage points of lost output just from clean-ups.
4. Upgrade to Rapid-Shutdown / Safety Enhancements
Building codes & safety standards are increasingly demanding rapid shutdown features (especially for rooftop installs). These systems allow you to shut down parts of the system quickly for maintenance or in emergencies. Some new optimizers double as rapid-shutdown devices.
What to do: Add a rapid-shutdown add-on or replace noncompliant component(s). Ensure your inverter or optimizer is compatible.
Weekend feasibility: Moderate. If the wiring is accessible and local authority not too strict, you may manage a DIY or with minimal electrician help. Beyond regulatory compliance, safety is real. Better safe than sorry.
5. Add an EV Charger or Smart Load Diversion
If you have or plan to get an electric vehicle (EV), installing a Level-2 charger tied into your solar system lets you use your produced energy immediately. Or, use smart devices (e.g. smart water heater controllers) that divert excess solar power (during daylight) to tasks like heating water or charging batteries rather than feeding everything into the grid at low rates.
What you'll need: a compatible Level-2 charger outlet, possibly a load-diversion controller, wiring, permission if needed.
Weekend feasibility: For many households, yes. If you're handy with wiring and have the outlet nearby. The savings from shifting loads can be substantial over time.
Also read: 7 Ways to Go Green With an EV (Even If You Don’t Own One Yet)
Things to Watch Out For (Because Not All Upgrades Are Equal)
Compatibility: Optimizers or microinverters often need matching panels or a certain inverter type. Verify voltage/current specs.
Permits & Code: Local building/roofing/electrical code might require inspection or licensed electrician work. Rapid-shutdown rules vary by jurisdiction.
Warranty implications: Tampering with mounts, replacing inverters improperly, or adding components not certified could void warranties.
Cost vs. benefit: Upgrades have payback periods. If your system is new and already well-configured, gains may be small. But if it's older or has shading or mismatched panels, gains are larger.
Also read: 5 Solar-Powered Devices You'll Actually Use Every Day
Summary: Which Weekend Move Gives the Best Return First?
If I were you, this is the priority list I'd follow this weekend:
Clean/Trim/Seal — lowest cost, almost no barriers.
Add Power Optimizers for shaded panels — biggest efficiency gain per dollar in many cases.
Upgrade Monitoring — lets you see problems fast.
EV Charger / Load Diversion — more cost, but also more savings long term if you're in the EV game.
Safety/Rapid Shutdown — important, especially for compliance, but a bit more work and possibly external help.
Final Thought & Call to Action
Solar tech doesn't have to mean huge installs, long delays, or massive bills. With the right tweaks, even a Saturday can turn your panels from "okay" to "cranking power".


